


The media could not be loaded.
Right off the bat, I would highly recommend you to calibrate the sensor. I took mine outside and let it stabilize for about 15 minutes. Outdoor CO2 levels usually hover around 400–420 ppm. If the reading is off, you can adjust it through the device’s offset setting, super important for getting accurate indoor levels.
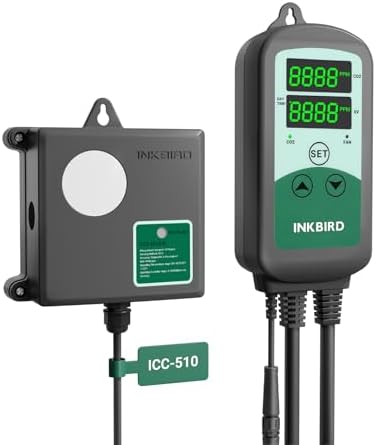
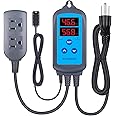
I’ve attached a video showing the controller in action. It turns off the CO2 at 1250 ppm and turns it back on when levels drop below 1100 ppm. You can see the bubble counter from my regulator stop and start in sync with the controller.
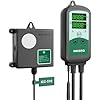
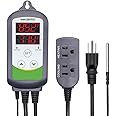
I’m using one outlet for my CO2 solenoid and the other for an exhaust fan. The fan only activates once the CO2 outlet shuts off, which is intended to flush excess gas, but keep in mind the fan can’t be set to run independently. If you want your fan on constantly or on its own schedule, you’ll need a separate controller or timer.
The day/night sensor is a helpful feature, it stops injecting CO2 once the lights go off. Just keep in mind that there’s no app or manual scheduling option. If you’re a high-precision grower like me, you might want more control. For example, plants usually use the most CO2 in the first few hours after lights turn on and need less later in the day. A programmable schedule would let you dose more efficiently, but this device just turns on and off based on light.
Also, a small warning: this device doesn’t remember your settings after a power outage. I suggest using a battery backup (UPS) if power issues are common where you live.
Overall, it’s a great unit. The display is easy to read even in high humidity, setup is simple, and it’s clear that Inkbird designed this with growers in mind. For the price, it’s a strong value. especially if you calibrate it properly and understand its limitations.
If you’re considering this controller, check out my video for a live demo.